
The Simple Workflow for Perfect Blog Posts
Ever spent more time dragging and dropping widgets in Elementor than actually writing your blog post? You meticulously style a beautiful post, only to realize you have to do it all over again for the next one. It’s frustrating and a huge waste of time.
What if you could separate your writing from your design?
Imagine writing your article in a simple, clean editor and then, like magic, having it appear perfectly styled on your website every single time.
That’s not a fantasy. It’s a smart workflow that separates your content (the words you write) from its presentation (the design).
Think of it like this: You write a letter in a simple text document. When you’re ready, you choose a beautiful piece of stationery to print it on. The words of your letter don’t change, but the final look does. We’re going to do the same thing with WordPress. Your content is the letter, and your Elementor template is the fancy stationery.
This guide will walk you through a simple, no-code process to make that happen.
The Big Idea: Content in WordPress, Design in Elementor
The core of this method is letting each tool do what it does best:
-
- WordPress (Gutenberg Editor): This is for writing and managing your content. It’s fast, clean, and distraction-free.
-
- Elementor: This is for designing the container that your content will live in. You design the layout, colors, and fonts here—but only once.
The key is a special Elementor feature called the Single Post Template. This is your master design, your “stationery.” Inside this template, you’ll place one crucial widget: the Post Content widget. This widget acts as a placeholder that automatically pulls in whatever you’ve written in the standard WordPress editor and displays it.
Ready to set it up? Here’s the step-by-step workflow.
Step 1: Create Your Master Layout in Elementor
First, you need to build your “stationery.” You only have to do this once.
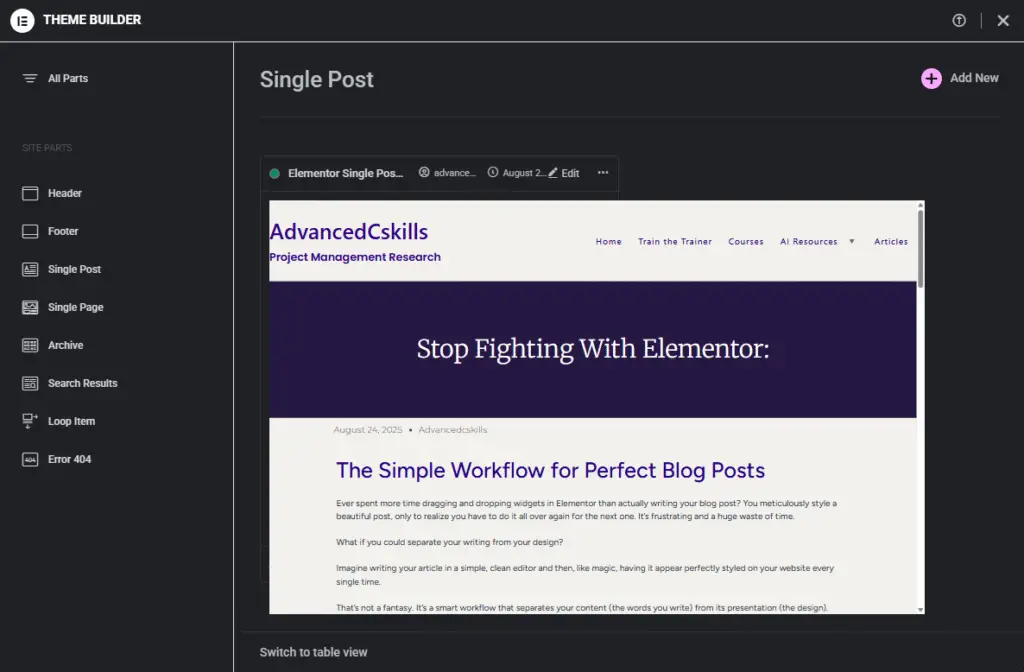
- In your WordPress dashboard, go to Templates > Theme Builder.
- Select Single Post and click “Add New.”
- Design your blog post layout. Add your header, footer, and maybe a sidebar.
- Now for the most important part: Drag the Post Content widget into the main area of your page. This widget will be the window where all your articles appear.
- Style the typography and spacing within the Post Content widget’s settings. This ensures all your posts have consistent fonts and styles.
- Click Publish and set the display conditions to “All Posts.”
Your master template is now live. Any article you publish will automatically adopt this design.
Step 2: Write Your Post (or Get it From ChatGPT)
Now for the easy part: writing. You can write directly in the WordPress editor or use an external tool like ChatGPT. The goal is to get your content in a clean HTML format.
If you’re using ChatGPT, you can use a prompt like this:
“Write my article as clean, semantic HTML. Only use headings (h2, h3), paragraphs, and lists. Do not add any styling.”
This gives you a clean foundation to paste into WordPress.
Step 3: The Magic Trick: Paste, Convert, and Save
This is where the “Gutenberg → Code editor → Convert to blocks” workflow comes into play.
- In WordPress, go to Posts > Add New.
- In the top-right corner of the editor, click the three vertical dots and select Code editor.
- Paste the clean HTML you wrote or generated in the previous step. It will look like code. Don’t worry!
- Now, click the three dots again and switch back to the Visual editor.
- You’ll see your content sitting in a “Classic” or “HTML” block. Click on the block, press the three dots on the block’s toolbar, and select Convert to blocks.
- Voilà! WordPress instantly transforms the HTML into native Gutenberg blocks (Headings, Paragraphs, Lists, etc.) that you can easily edit if needed.
Step 4: Publish and Admire Your Work
All that’s left to do is add your title, set a featured image, and hit Publish.
When you view the post, you’ll see the content you just saved in Gutenberg displayed perfectly inside the beautiful master layout you created with Elementor.
-
- Want to change the article’s text?
Edit the post in Gutenberg.
- Want to change the article’s text?
-
- Want to change the design of all your posts?
Edit the Single Post template in Elementor.
- Want to change the design of all your posts?
This separation makes managing your blog incredibly simple and efficient.
Bonus Tip: Create Reusable Highlight Boxes
Want to add stylish callout boxes for tips or warnings? You can create them once and reuse them anywhere.
- Design a “Highlight Box” as a Saved Template in Elementor. Go to Templates > Saved Templates and copy the shortcode for that template. It will look like “elementor-template id=”***”.
- When writing in the Gutenberg editor, simply paste this shortcode where you want the box to appear.
Now, if you ever want to update the design of all your highlight boxes, you just have to edit the one saved template, and it will update everywhere!
You can add this simple CSS in Elementor’s Site Settings > Custom CSS to style your highlight boxes:
/* highlight callout */
.blog-highlight {
 border-left: 4px solid #ffcc00;
 background: rgba(255,204,0,0.06);
 padding: 18px;
 margin: 12px 0;
 border-radius: 6px;
 font-weight: 600;
}
Just remember to add the CSS class blog-highlight to your Saved Template’s section settings under the “Advanced” tab.
This workflow takes a few minutes to set up, but it will save you hours in the long run. It allows you to focus on what matters most: creating great content.